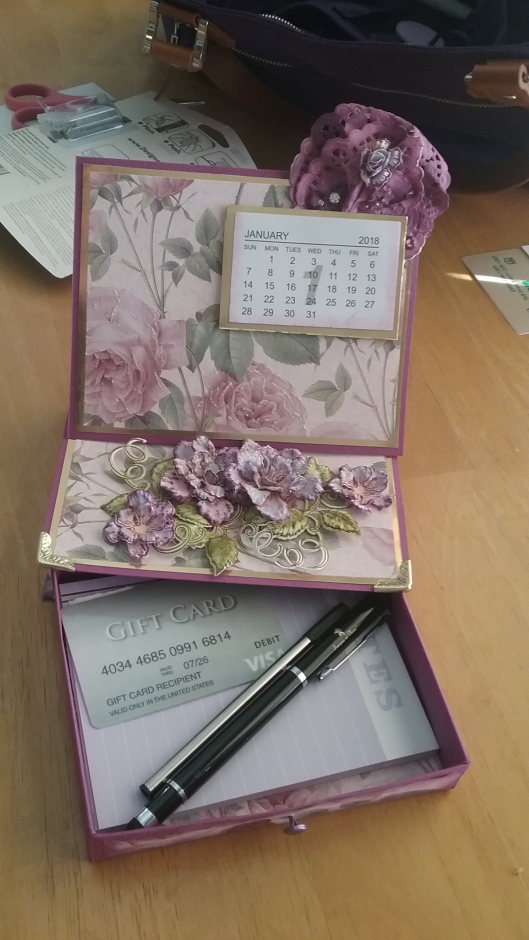
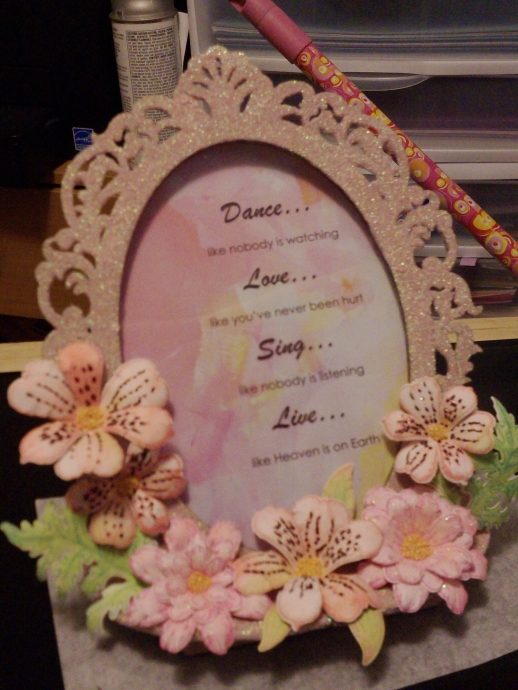
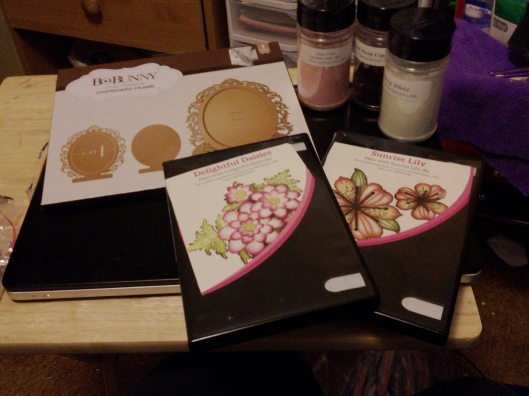
I picked up a chipboard fram at Tuesday Morning and felt it was the perfect opportunity to try out my new glitters from https://www.yayasglitter.com/ and they are sooo sparkly! I should have painted a basecoat first, but I was so excited I forgot that step. So, I had to use 3 coats of glitter where I would probably only use 1 with the base coat. Here is how I made this cute little frame–I added a sentiment in but it can be used as a regular frame as well. I used beautiful flowers from the stamp/die sets from https://www.heartfeltcreations.us.
What you’ll need:
Chipboard frame
Glitter
Flowers (paper or silk)
Mod Podge
Paint brush
Glue
Ink for flowers
Clear sealant
Acetate-for windpow
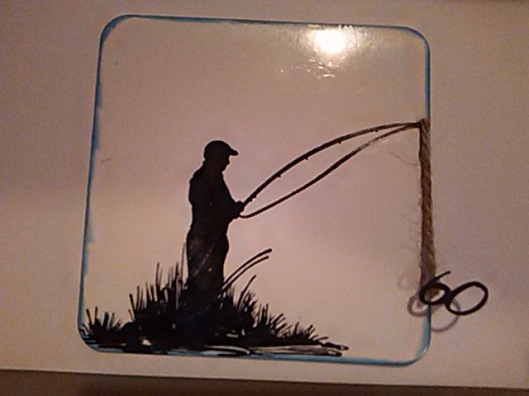
Ridged picture frame tun button (optional)
First step was to cover the front of the frame and both bottom stands with Mod podge and cover generously with that sparkly magic–glitter!! I chose a custom color of Opal Pink (Ya-ya’s Glitter)If you choose to basecoat your frame you should only need 1 coat of glitter. If you choose to basecoat, do 1 light coat, let dry thoroughly and add another light coat-let dry completely before doing the Mod podge step.
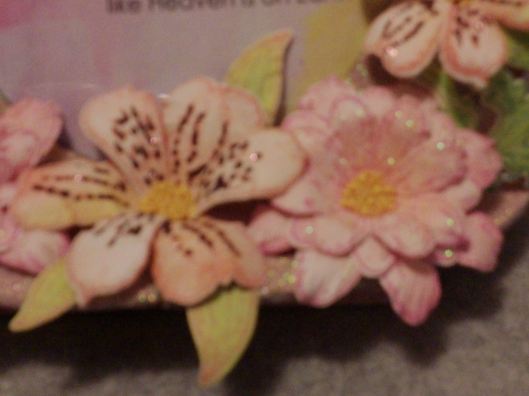
While you are waiting for the glitter and Mod podge to dry, stamp severaly types of flowers or pick out the flowers you will be using. When glitter is dry, spray a light coat of sealant, if another coat of glitter is needed, wait a few minutes then reapply Mod poge and glitter, let dry and clear sealant. I used daisy and lilies from Heartfelt Creations. To color them I stamped the daisy with Distress Oxide Picked Raspberry, and colored it with Distress Oxide Worn Lipstick and glued higlights and used Glitzy glitter and used yellow prills for the centers. For the lillies, I stamped in Distress Oxide Abandoned Coral and also lightly colored with the same color. I higlighted the inner markings with Brazil Deep Copper glitter and center is yellow prills. The leaves are Distress Oxide Citron and Lucky Green.
Once all parts of the fram have been glittered, cut a piece of acetate to cover the back of the opening. Add the rigid button to close the back of the frame if desired. Assemble frame, arrange flowers how you desire. The flowers attach well with pop dots or 2 sided foam tap and give a little dimension.
Put in your favorite photo or sentiment and enjoy!